Senin, 29 September 2014

Root MyPhone Rio Craze Android 4.4 KITKAT dual core


In this article I will be showing an easy step by step instructions on and learn how to root your MyPhone Rio Craze: 4" Screen, Dual Core and Android KITKAT handset. The following instructions are made to be simple and fast to perform while rooting. Just follow the steps carefully to make it successful and gained supersu access which is our goal today.

Specifications:

4″ WVGA display (480 x 800 resolution, 223ppi)
1.3GHz MediaTek MT6571 dual core CPU
Android 4.4 KitKat
256MB RAM
512MB ROM, expandable via micro SD
1.3mp fixed focus rear-facing camera with LED flash
VGA front camera
2G/EDGE
WiFi b/g/n
Bluetooth
GPS with A-GPS
1,300mAh battery
Price: Php1,999

Rooting your MyPhone Rio Craze


To begin with, let me remind you that we are not held liable for any damage may occur in your phone.
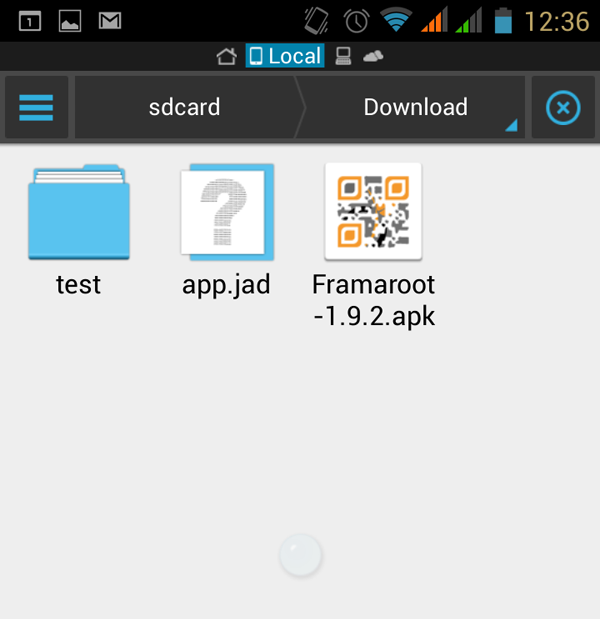
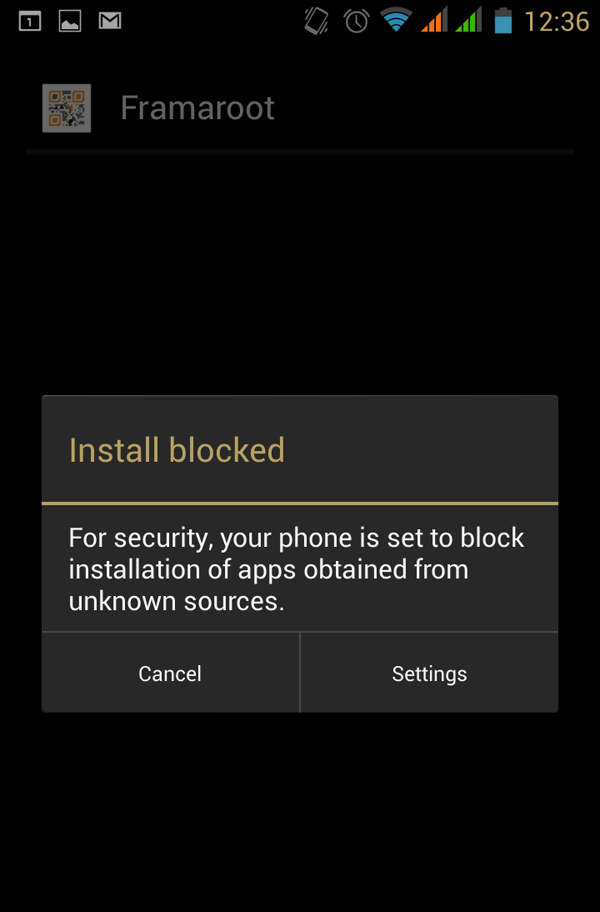
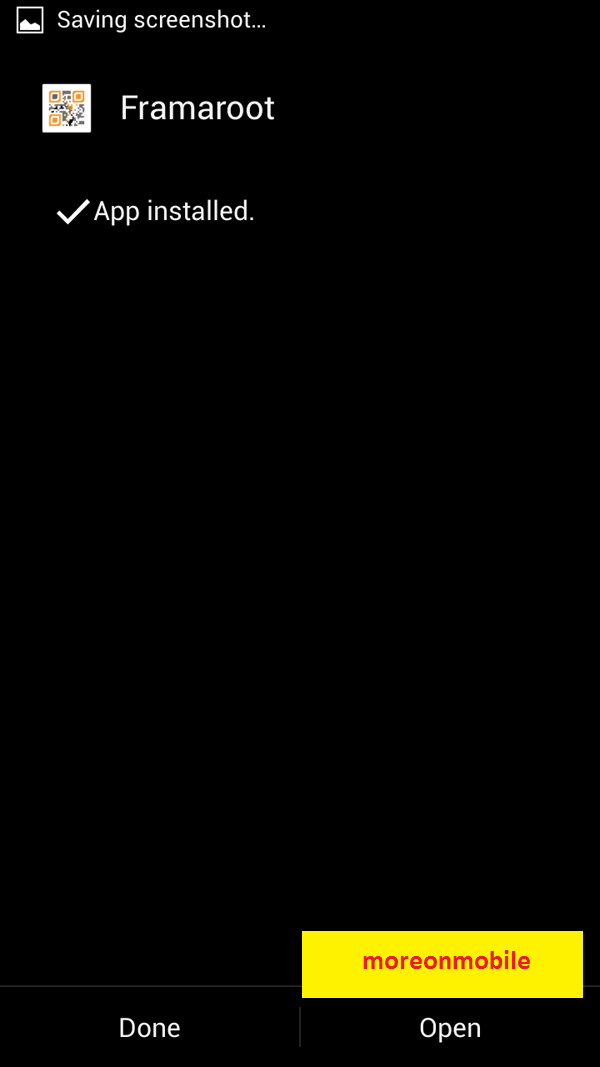
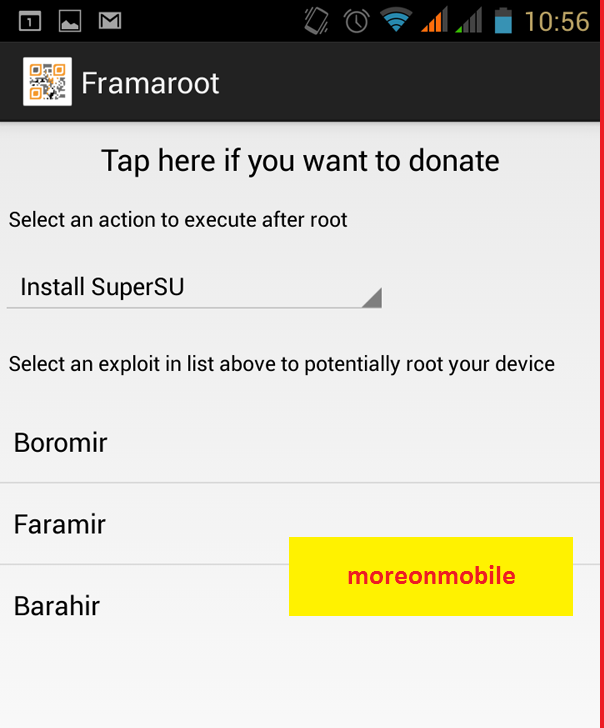
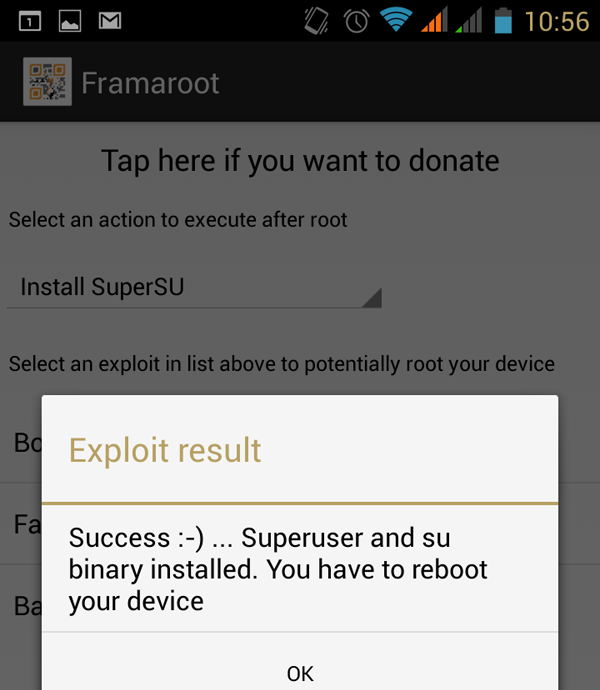
Root without PC.
1. Download KINGROOT or visit kingroot.net and save on your Phone.
2. Install KingRoot and KingUser. 


3. Open KingRoot and tap green circle.


4. Wait until check mark will appear. Then tap blue chinise text.


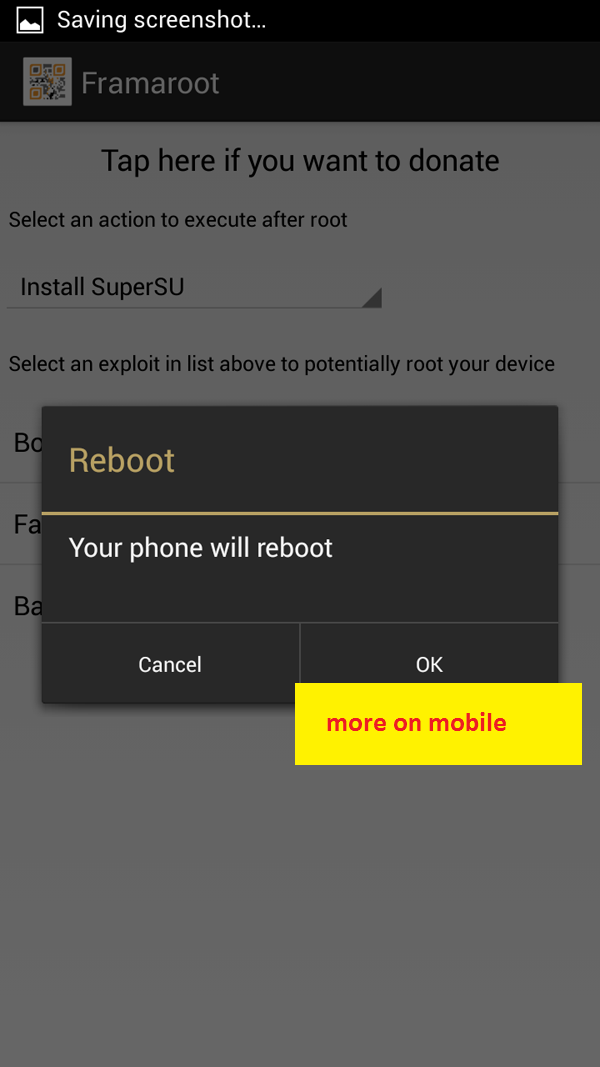
5. Your phone will reboot wait until success. Goodluck!

Next Method of Rooting
File needed:

SuperSuPro-V2.0-by-ARM.zip

1. Download your SuperSuPro-V2.0-by-ARM.zip given above.
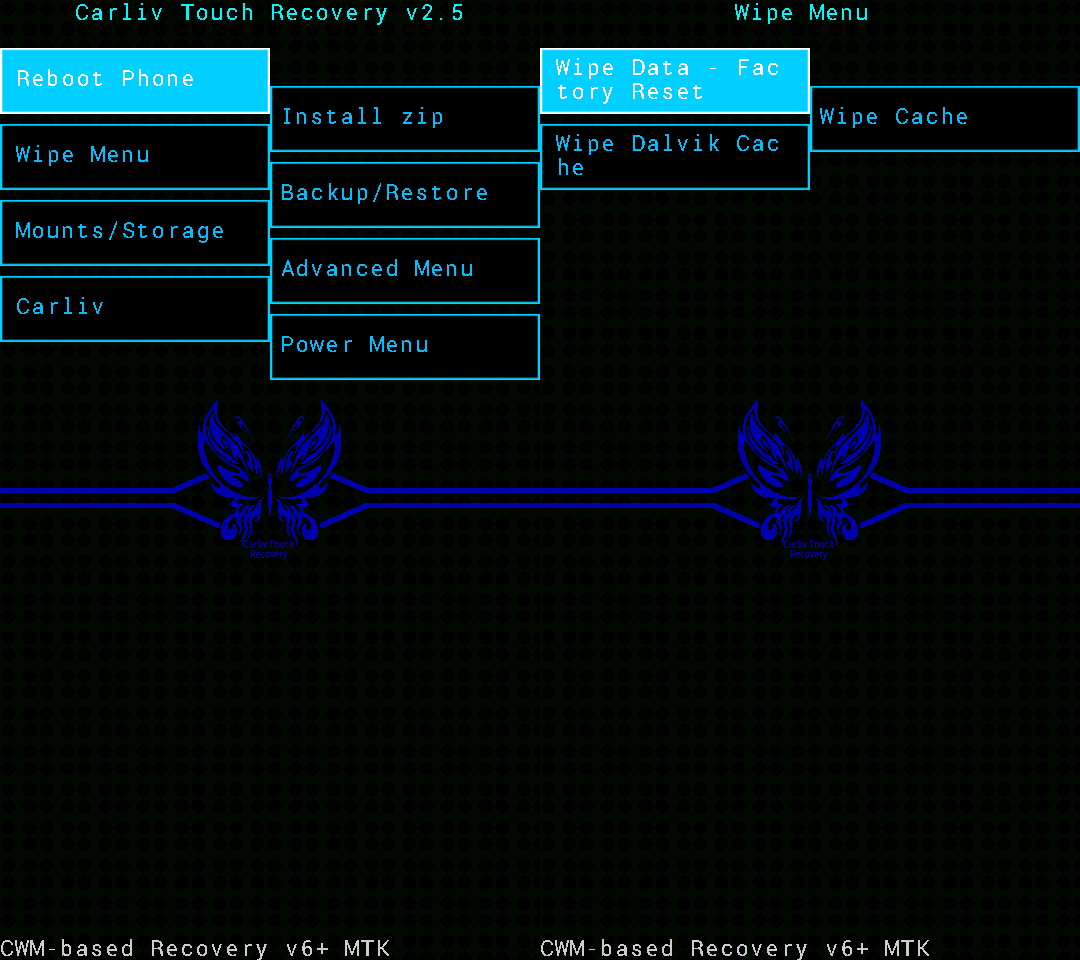
2. Boot to recovery. Press volume up + volume down + power button.
3. Select Install from sdcard and flash SuperSuPro-V2.0-by-ARM.zip.
4. After flashing boot your system and check your device if rooted.
5. Done!

Another Method on Rooting.


Update: If the above method will not work try these another one hope it helps.
Flash at your own risk.

Needed:

ADB drivers
v_root
usb connector

1. Download the given file and install it.
2. Install v_root to your PC and open it.
3. Enable usb debugging dont forget.
4. Now, connect your phone to computer.
5. On vroot right click run as admin.
6. Click next if asking something...
7. Wait until 5-10 mins until it completes.
8. After completes, done! and check if your rooted using root checker in ps.

Feedback if success.
 

Your MyPhone Rio Craze is now rooted. 


How To Root Cherry Mobile Pulse X140 Android 4.4 KITKAT


How To Root Cherry Mobile Pulse Android 4.4 KITKAT - X140


In this article will let you learn on How To Root your newly brought Cherry Mobile Pulse Android 4.4 KITKAT. A step-by-step procedures and detailed information in rooting your handset. This tutorials is provided with screen shot to make it more informative and easy to follow to all of us. Until you finished following all the guides, you can then gained superuser access on your handset. So lets get started.

specifications:

Cherry Mobile Pulse specs:
5” HD IPS Dragontrail Scratch Resistant
Android™ 4.4 (Kitkat)
MTK 6592 Octa Core 1.7ghz Processor
Dual SIM / Dual Standby
13MP Camera, 5MP Front Camera
RAM: 1GB / ROM: 8GB
3.5mm Stereo Audio Jack
HSPA+/WiFi/GPS
Bluetooth
MicroSD up to 64GB
w/ Double Tap to wake feature


Rooting Cherry Mobile Pulse Android 4.4 KITKAT - X140


Disclaimer:
We are not held liable for any damage that may occur on your handset. Do it at your own risk.

Needed File:
King Root APK


1. Download KingRoot.apk given above.
2. After finish download, Install the application and Open it. See screenshot below.


3. Wait until the app is successfully installed. See below.


4. Tap the Green Circle to open the application and wait until it will success.


5. Tap the Blue button. Once you tap it, the KingRoot will be closed and the the KingUser app will replace. See below.


see figure below


6. Visit playstore and search SuperSu then Un-install it. See below.


7. After Uninstallation is complete, download and install again SuperSU app and Open it.


8. Install again and open. Install the binary as normal.


9. After the successful installation of SuperSU, you can remove the KingUser app using Link2sd or rootexplorer it can never be remove on file manager only.
10. In case the SuperSu ask binary needs to be updated, install it again by normal installation.


Congrats! Your CM Pulse handset is now rooted.


Credits:
@ CM Pulse United Official Facebook Group


Sabtu, 27 September 2014

How To Root MyPhone Agua Rio v2 using framaroot.


How To Root MyPhone Agua Rio v2 using framaroot.


In this article, learn on How to Root Myphone Agua Rio. These step-by-step procedures will help you understand all the details in mobile rooting. These procedures will show you on how to acquire and gain superuser access on your mobile. The easiest and comfortable way will be provided on the following.

But before we proceed to the rooting method let us take a glance first of the full specs of these handset. Since myphone exist in the market it brings always a competitive specs just like these new agua rio with a 5 inch capacitive touch screen makes it count to all consumers. A 1.2GHz quad core MediaTek processor with 1GB RAM. The internal storage is 4GB with micro SD expansion. The back camera is 8MP and a 2MP front camera. These handset is a dual sim capable wherein you can used of your extra sim card at a one mobile. These handset is running Android Jelly Bean.

Full Specifications


Android Jelly Bean
1.2GHz quad-core MediaTek processor
5-inch capacitive touchscreen (720x1280 HD), 294ppi
1GB RAM
4GB Internal Storage
microSD support
8 megapixel main camera with Led flash
2 megapixel front camera

Rooting MyPhone Agua Rio v2


DISCLAIMER:
1. Make sure your mobile is supported on the app (framaroot). Good thing is that MyPhone Agua Rio v2 is supported.
2. We are not held liable for any damage, brick etc.. on your mobile. Do it on your own risk.


Needed File:
Framaroot version 1.9.2

Now lets get started and follow the steps carefully.

1. Download the given file (framaroot) and save it on your mobile.
2. Locate the file framaroot .apk and install it.


3. This will appear because of security reason. Just tap settings and continue locate Unknown Sources Option.See screenshot. Now worries its normal.


4. You will encounter tick box is disable. Just check or tick it to continue the installation process.


5. After installation process is complete tap open.


6. Framaroot by default select install supersu to make it sure that it has been selected.


7. Then tap and select Barahir. Rebbot your device after success.


8. Reboot to take effect.


Thats all! Congratulations your MyPhone Agua Rio is now rooted.


credits:
@xda forum
@myphhone facebook gruop


Kamis, 25 September 2014

MyPhone Agua Rio: How to Repartition the Internal Storage and Gain 2.5GB


MyPhone Agua Rio: How to Repartition the Internal Storage and Gain 2.5GB

In these article, I will be showing to all MyPhone Agua Rio users all the simple and easy step-by-step instructions on How To Repartition the Internal Storage and Gain 2.5GB on your phone. These following procedures is applicable to v1 and v2 users. But before we get started let me remind you that these procedures is not necessary, it may depend on every users if he or she will perform these memory swapping. " If you are contented on your phone then don't do these or again it will depend on you, it is your choice".


FACTS:
MyPhone Agua Rio’s first and second iterations (v1/v2)4GB ROM is sliced into 3 parts.
Around ~1.43GB have been allocated to system
Around ~0.98 – 1GB is used for internal memory
Around ~1.55 – 1.6GB can be used as your Phone memory

Repartition the Internal Storage and Gain 2.5GB on MyPhone Agua Rio


DISCLAIMER: We will not be held liable for any damage that may occur on your phone please be guided accordingly.

Files Needed:
Framaroot
Rio Recovery Installer
mp Rio Repartition
Busybox ( free download at google playstore)

But First is we will perform How To Backup your files. Install your memory card now.

1. Download and Install Framaroot given file above to gain superuser access on your phone. You need to root your phone first before we proceed to the next step.

2. I assume that your phone now is rooted then your ready to next step. You need to install BusyBox by Stephen (Stericson) from Google Play. Essential for all rooted device just like yours. Install it and wait until its necessary and finish.

3. Install Rio Recovery Installer (given above). These tool is important and a MUST to backup your ROM using TWRP or CWMR and also very useful for Rio Stock Recovery. Always do BACKUP.

4. After download and installed ( Rio Recovery Installer ) tap on install CWMR from option menu and be notified to reboot your phone to recovery console and press OK.

5. Next, your device will reboot into recovery menu of CWMR (ClockWorld Manager Recovery) Then use Voulume + Up or Volume + Down to navigate and select "backup and restore".

6. Select "BackUp" and backup process will trigger and will save on your sdcard. Wait a few minutes until backup completes.

7. After Backup is complete, reboot your system. Navigate using volume + up or voulume + down.
Now that you have finish backup then lets proceed to Repartition. Always BACKUP is great.

8. To begin, download and install mp rio repartition (given above) and after that open it to grant superuser for it to work.

9. To start repartition, Select and tap the button “2.5gb internal / 21mb phone".

10. These app will ask you to reboot the recovery

simply press OK and proceed. If not tap on Boot To Recovery button and continue..

11. Your device will reboot again to CWM recovery console. Select " wipe data/factory reset " (use volume up or down to navigate and press power button to select). Then, select " yes-wipe all user data " and wait until it completes.

12. Then go down and select " wipe cache partition " and select " yes-wipe cache " ...wait again...

13. Then navigate down and select " advanced ".

14. Select " wipe dalvik cache " and select " yes-wipe dalvik cache "

15. Almost done, now we will restore your phone by getting your latest backup that we perform ahile ago. So go back to main menu and select "backup and restore" select "restore".

16. On your screen you could numbers appear and that is your backups named by dates. Select your latest backup and select " Yes Restore ".

17. And then wait until it completes saying " Restore Complete ". (depends on your backup size)

18. Go back to main menu and select reboot now.


Congratulations!!! You have successfully Repartition the Internal Storage of MyPhone Rio.


Goodluck!!!

Credits:
@xda
@arsie


Kamis, 18 September 2014

How To Root MyPhone Agua Rio S5501 KITKAT 4.4.2 plus Carliv Touch Recovery


Today I will be showing to you on how to root MyPhone Agua Rio S5501 Kitkat 4.4.2 one of the latest smartphone that exist in the market. I will also show to you and provide all the step-by-step instructions e.g. rooting and complete installation tutorial of carliv touch recovery provided also with the latest android firmware.

Rooting mp agua rio s5501


DISCLAIMER: Flash at your own risk

Files to be needed on your android device:
Smart Phone Flash Tool
Root and Carliv Touch Recovery v2.5

Procedures:
1. Grab your android device and get ready to get started. Make sure you have finished downloaded the files you needed above.
2. Now. Take note. Before the root file, you need to flash first the Custom Recovery.

How to install recovery Myphone Rio S5501

1.Download the files given above, after you donwload it extract it.


2. Next, browse the folder Tinno Driver and install it.


3. Click next and wait until the installation is complete.


4. Wait until these appear and close it.


5. Now after installing the driver browse the folder.


6. Run the flash tool.


7. And will look like these. Then click Scatter-loading.


8. And locate the file MT6582_Android_scatter.txt like these.


9. Click Downloand to start.


10. Now Turn off MyPhone Agua Rio S5501 V2 battery removed. Plug in the USB cable to your PC or Laptop and connect to your MyPhone Agua Rio S5501. Wait until finish downloading.


Download finish and successfully installed carliv touch recovery.

Close the program and install back your battery.


3. Now after all the procedures we are ready to ROOT your device.

1. Mount on your sdcar Root for RIO 4.4.2(Flash This).zip just browse the file you downloaded.


2. Power off your phone and Press VOLUME UP + VOLUME DOWN + POWER BUTTON.

Just Press VOLUME UP to locate the RECOVERY MODE.


3. Choose install zip>Choose zip sdcard and locate Root for RIO 4.4.2(Flash This).zip.

Then click Fix Root and Reboot System.

All Done!! Your device is now rooted and ready to used.


Credits:

Sir Lorenzo Manuel Gimoto
Mam Joanna July Nakpil
@carliv
@yuweng
Chainfire